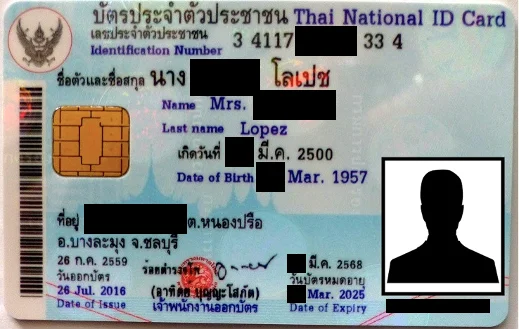
🚀 5-Minute Tutorial: Thai ID Card OCR with iApp AI
This quick tutorial will show you how to get started with Thai ID Card OCR using iApp AI APIs in just 5 minutes.
Step 1: Get Your API Key
- Login / Register
- After logging in, go to "API Keys" section in the control panel
- Click "Create New API Key"
- Give your API key a name and click "Create"
- Copy your API key - you'll need this to make API calls (it's only shown once!)
Step 2: Make Your First API Call

You can make API calls using either cURL or your preferred programming language:
Using cURL
curl -X POST https://api.iapp.co.th/thai-national-id-card/v3.5/front \
  -H "apikey: YOUR_API_KEY" \
  -F "file=@/path/to/id-card.jpg"
Using Python
import requests

# Your API key from iApp AI Platform
API_KEY = "YOUR_API_KEY"

# API endpoint for Thai ID Card OCR
url = "https://api.iapp.co.th/thai-national-id-card/v3.5/front"

# Prepare the image file
files = {
    'file': open('id-card.jpg', 'rb')
}

# Add your API key to headers
headers = {
    'apikey': API_KEY
}

# Make the API request
response = requests.post(url, headers=headers, files=files)

# Print the extracted information
print(response.json())
Step 3: Understanding the Response
The API will return a JSON response containing extracted information like:
- ID number
- Name in Thai and English
- Date of birth
- Address
- And more
That's it!
You've just made your first Thai ID Card OCR API call. The API offers many more features like:
- Back side recognition
- Face detection
- Bounding boxes for each field
- Multiple programming language support
Check out our full documentation for more details and advanced usage.
Next Steps
- Try different image formats (JPEG, PNG, PDF)
- Explore other API endpoints
- Implement error handling
- Add validation for extracted data
Need help? Contact our support team at support@iapp.co.th